Miva Klaviyo Connector: Module Version:
1.0
Requirements
Installation
Log in to your Miva Merchant Admin.
From the Quicklinks dashboard, navigate to Modules.
Click the + icon to add a Module.
Click Upload and choose the ali_klaviyo.mvc file, then click Upload.
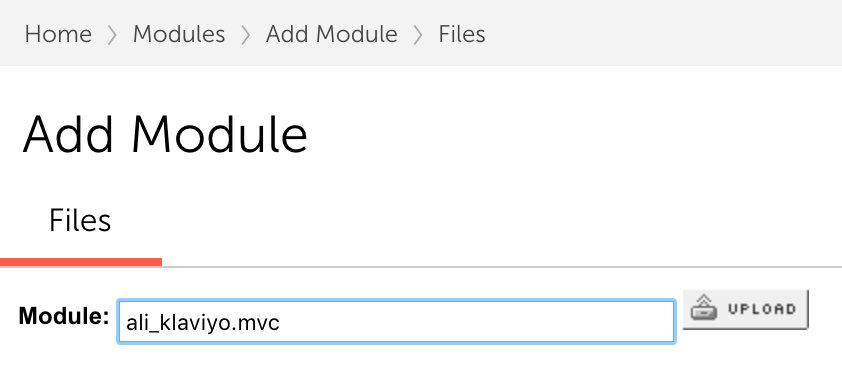
Next, press the + Add icon.
Navigate back to Home > Order Fulfillment.
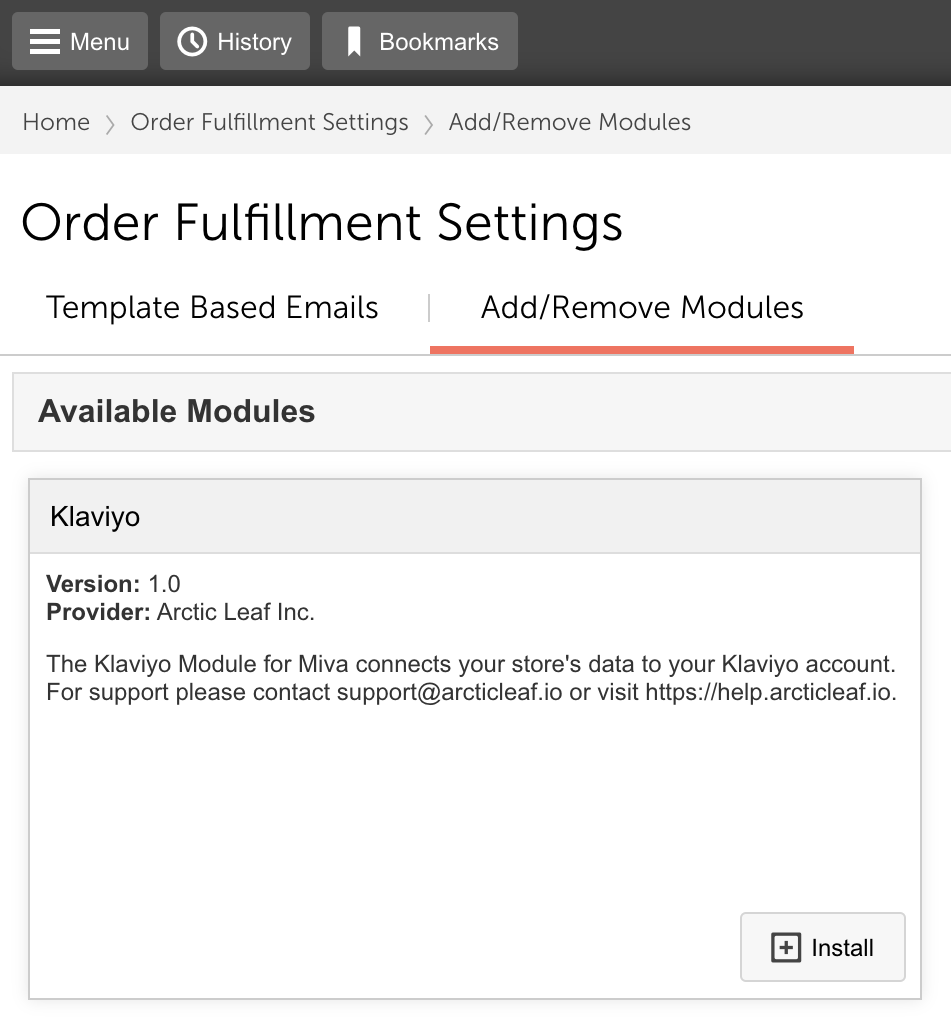
Click on the Add/Remove Modules tab.
Find Klaviyo and click Install.
The Klaviyo Module
is now
installed!
Configure Klaviyo Settings
Configure Klaviyo
Settings by navigating to Order
Fulfillment >
Klaviyo in
Miva.
Klaviyo API Key
Input your 6-digit
public API key from your
Klaviyo
account.
.png)
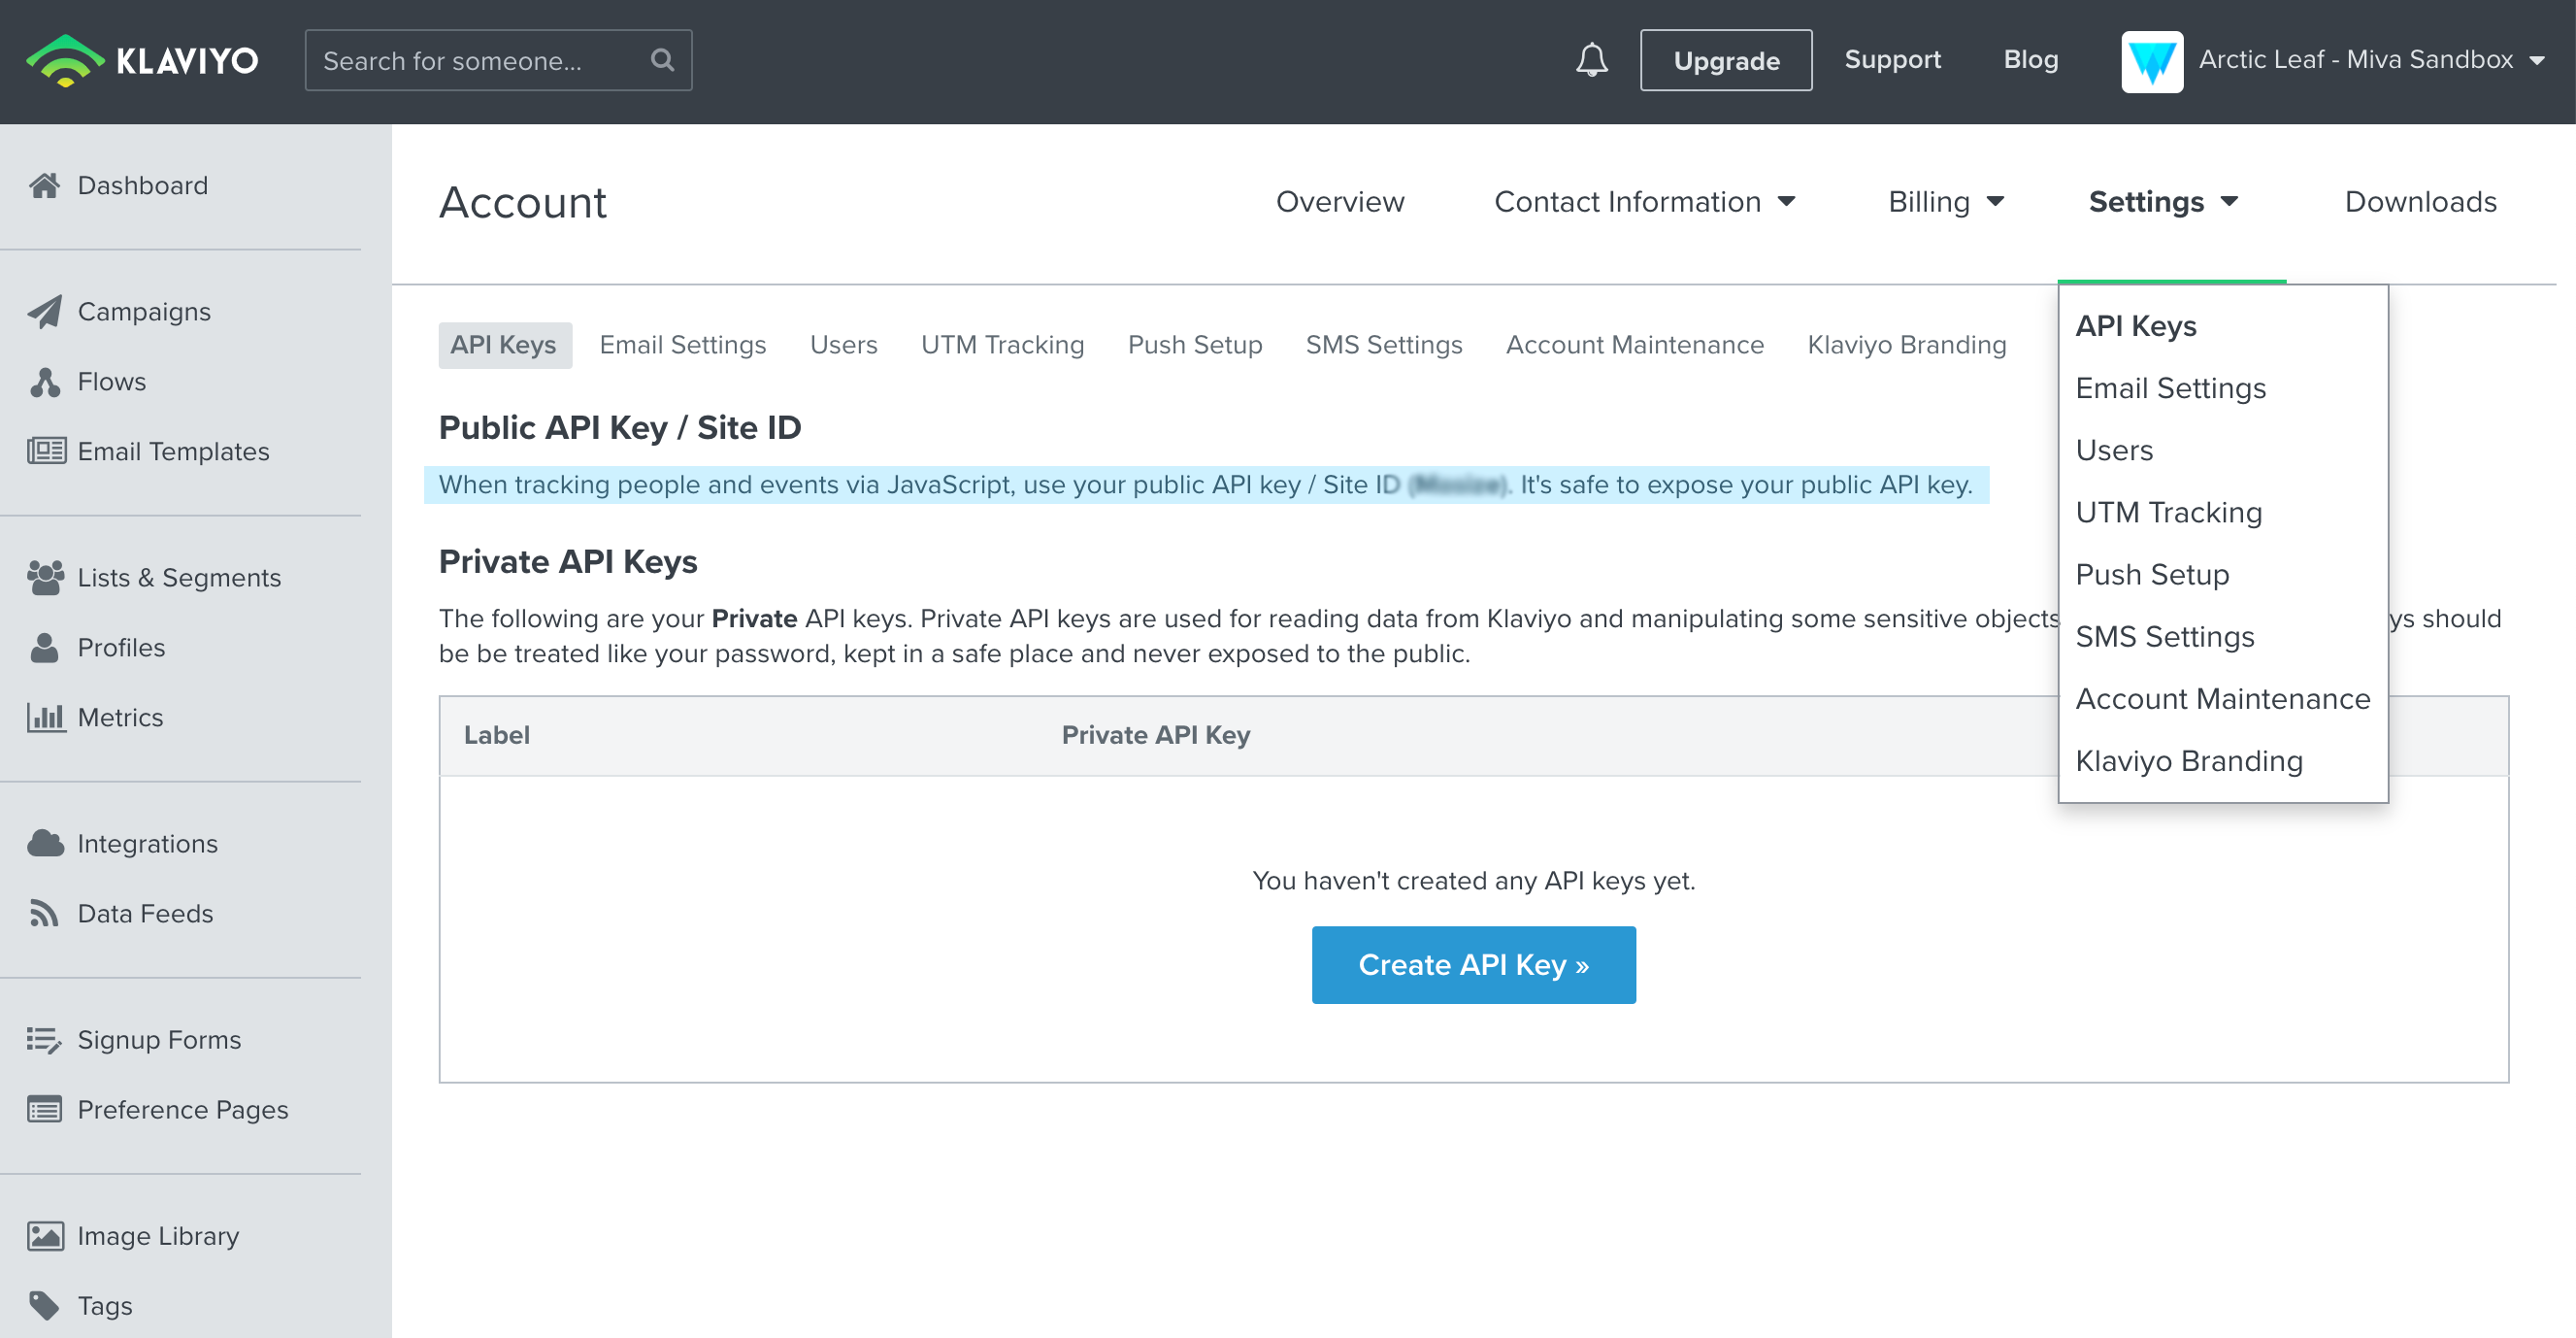
If you don’t know
your Klaviyo public API
key, click Get
API
Key and Klaviyo will open in a
new tab. Input your
Klaviyo login credentials
and navigate to Account
> Settings > API
Keys.
Copy the public API key
and paste it into the
Klaviyo API Key field in
Miva.
Product
Identifier
The Product
Identifier section allows you to
choose whether you’d like
Product Codes or SKUs sent
to
Klaviyo.
.png)
Brand
Identifier
The Brand
Identifier section
allows you to select which
custom product field you’d
like sent to
Klaviyo.
.png)
Image
Type
Image
Type allows you to select which
type of image you’d like
sent to
Klaviyo.
.png)
Actions
In the Actions section,
select which server-side
metrics you would like
tracked. The module allows
you to track the following
events:
Placed Order: Tracked when a customer places an order in your Miva store.
Ordered Product: Also tracked when a customer places an order, but a separate event is recorded for each item purchased.
Fulfilled Order: Tracked when an order is shipped.
Cancelled Order: Tracked when a customer cancels an order they placed prior to fulfillment.
Refunded Order: Tracked when a customer pays for an order, but requests the payment be returned.
.png)
Once you are done
configuring the Klaviyo
Settings, click the Update button to save your
settings.
Syncing Historical
Data
This feature allows
you to sync historical
order data with Klaviyo.
It leverages Placed
Order and Ordered
Product server-side metrics. In
most cases this will only
need to be done once,
after the module has been
installed.
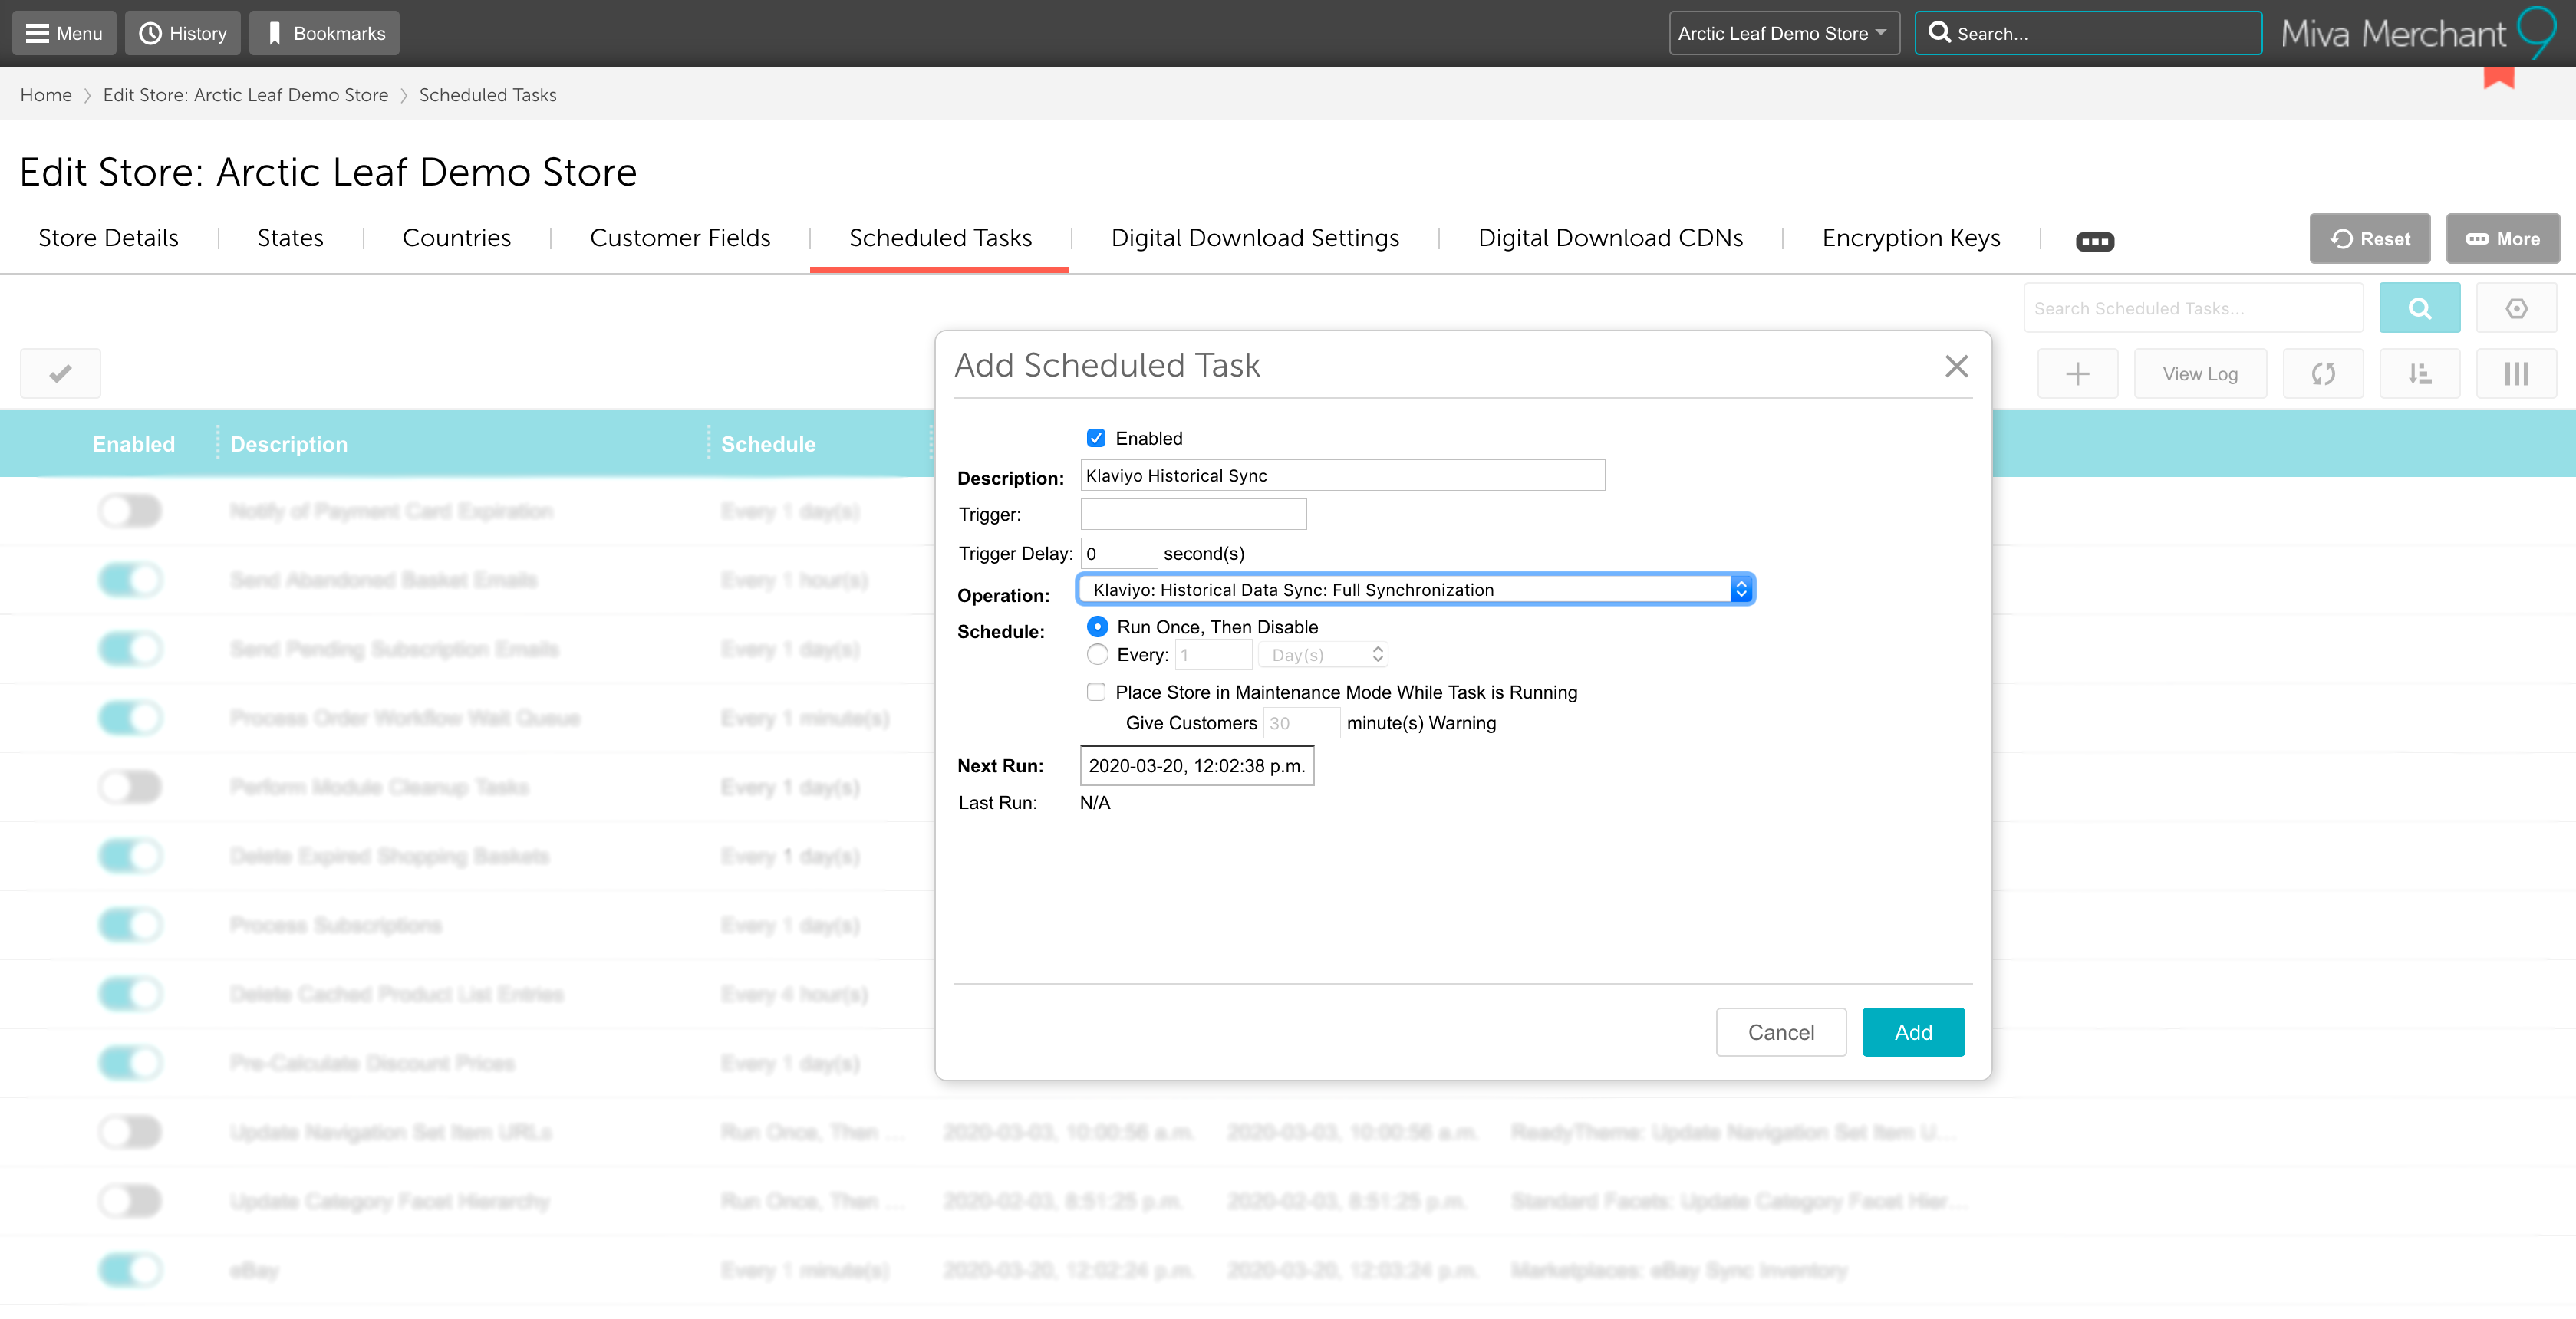
Setting Up the
Scheduled
Task
Navigate to Store Settings in Miva.
Click on the Scheduled Tasks tab.
Click the + button to add a new scheduled task.
Enter a Description.
Select Klaviyo: Historical Data Sync: Full Sync from the Operation dropdown menu.
For the Schedule, select Run Once, Then Disable.
Finally, click the Add button.